
How to Get 20 Years of Photos Off an Old Computer (So Mom Can Actually See Them)
July 23, 2026
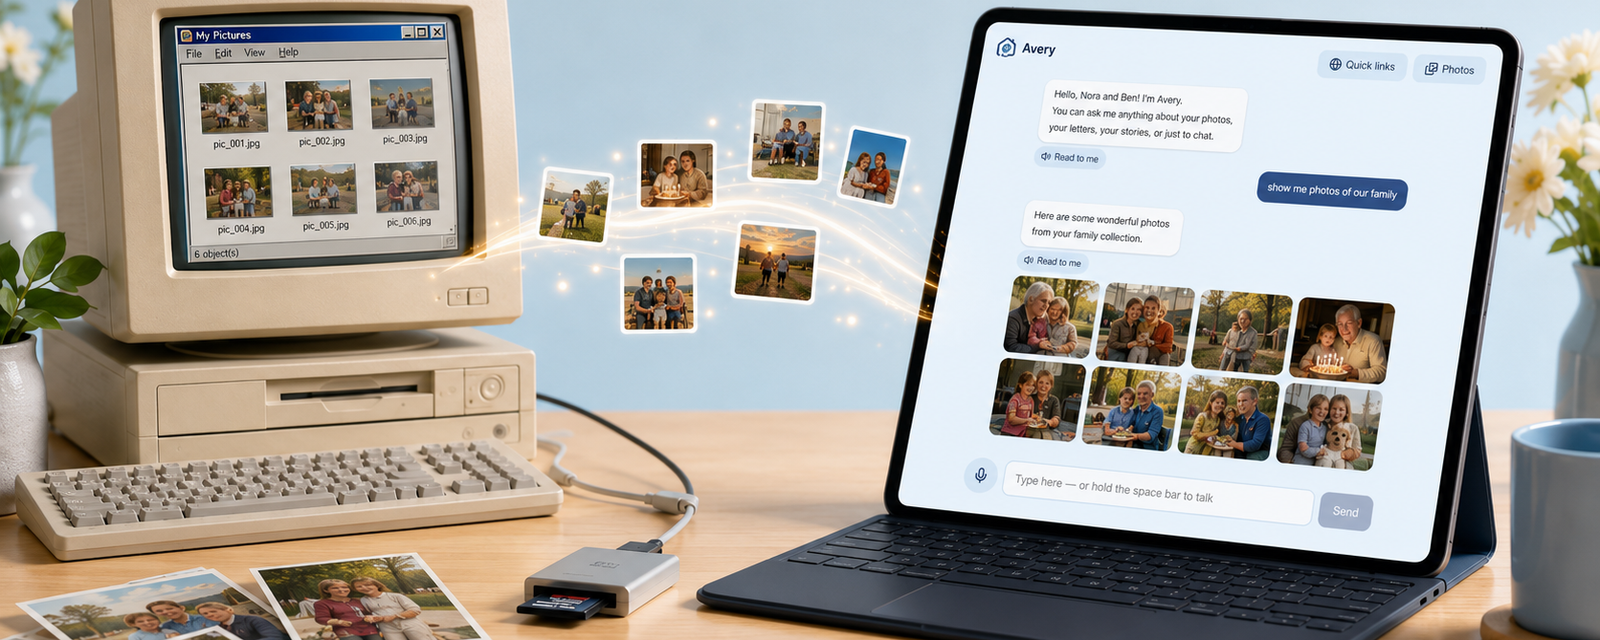
Your parents have spent decades capturing moments, and now they sit in front of a machine that takes ten minutes to boot and can't find their own wedding photos. The problem isn't just storage — it's that nothing is organized. A folder named "Photos" sits next to "Pictures2," which has empty subfolders from 2008 and another one labeled "Backup" from 2009. Meanwhile, the best shots of the grandkids are sitting in the Downloads folder because someone emailed them to themselves years ago. You can't ask your parents to sort this out — they don't know where any of it is anymore. Your job is to get every photo off that drive before the hardware fails, then hand your parents a version they can actually use.
This guide assumes the computer still turns on, even if slowly. If it won't boot at all, skip to the hardware section below.
Step 1: Set up your rescue tools
Don't try to do this on the old computer alone. You need a second machine — your own laptop or desktop — and an external hard drive big enough to hold everything. A 1TB drive is usually enough for photos; video eats space fast, so go bigger if there's a lot of home video.
Format the external drive as ExFAT. It works on both Mac and Windows without extra software. Name it something plain, like "RESCUE," and avoid spaces in file and folder names during the transfer — they can cause path errors later.
Step 2: Find where the photos are hiding
On older Windows machines, photos are never in one place — they scatter based on how the computer was actually used over the years. Open File Explorer and check each of these locations. Copy everything into a temporary folder on your external drive called "RAW_DUMP." Don't sort or rename yet. Just get the files off the machine.
The standard folders. Go to `C:\Users\[Name]\Pictures` (on Windows XP it's `My Pictures`). Inside, look for folders made by old camera software — "Camera Uploads," "Digital Cameras," or years like "2015." Copy the whole folders over. Don't delete anything from the original until you've confirmed the copy worked.
The hidden archives. Photos end up in strange places after software updates and failed backups. Check:
- `Desktop` — people drop photos here temporarily and forget them for a decade.
- `Documents` — look for folders called "Scans," "Letters," or "Work." Old scanner software often saved straight here.
- `Downloads` — the graveyard. Sort by oldest date modified. You'll find raw camera dumps and scanned letters mixed in with old installers. Skip the .exe files; grab everything else.
- `AppData` — a hidden folder. Type `%appdata%` into the address bar to open it. Look for folders tied to old photo software or digital frame apps; they sometimes hold cached images you won't find anywhere else.
Email attachments. If your parents used Outlook with a local account, their whole email history — including every photo ever attached — lives in a single .pst file. Look in `C:\Users\[Name]\AppData\Local\Microsoft\Outlook` for a file ending in .pst. Copy it to your external drive right away. You'll need Outlook or a free PST viewer to pull the photos out later.
Step 3: What if the computer won't boot?
If the machine won't start, blue-screens, or makes a grinding or clicking sound, stop trying to run Windows on it. The drive is likely failing, and every extra boot attempt risks losing data for good. Pull the drive instead:
- Power off the computer and unplug it.
- Open the case — a few screws on the side panel for a desktop, or a small compartment on the bottom for a laptop.
- Find the hard drive, a metal rectangle about the size of a deck of cards, and remove the corner screws holding it in place.
- Connect it to your working computer with a SATA-to-USB adapter or docking station — about $20 CAD online. Your computer will see it as a second disk. If you hear clicking, stop immediately; the drive is physically damaged and you may need a data recovery service instead.
Step 4: Verify, then clean up
Once everything is copied, check that the transfer actually worked. If the original Pictures folder showed 50,000 items, your backup should show roughly the same. Open ten or fifteen photos at random from different years and confirm they open and look correct.
Now clean up. "Thumbs.db" files are just Windows cache and safe to delete. Duplicates pile up because cameras rename files by date — a free duplicate finder tool will spot exact matches so you can keep one copy of each. Rename "RAW_DUMP" to something clear, like "Mom_and_Dad_Archive_2024." If the volume is manageable, split it into subfolders by decade or life event. If not, leave it as one folder — organizing further can wait.
Step 5: The real payoff — making it visible
Getting the photos off the old computer is the easy part. Getting your parents to actually see them is the harder one. They don't want to log into a cloud portal, remember a password, or navigate folders. They want to see their grandkids' faces without any extra steps.
One option is a Wi-Fi digital photo frame from a brand like Aura or Skylight. Plug it in, connect it to their home Wi-Fi, and use the companion app on your phone to upload folders from your archive. The frame cycles through the photos automatically, and some models turn off when no one's in the room.
If you'd rather not manage uploads and frame apps yourself, a service like Heirloom Home takes the archive you just built, cleans up old formats, filters out the junk automatically, and sets up an interface on a device your parents already own — no password required. They just ask, by voice or by typing, and their own photos and stories come up.
Final checks
Before you disconnect the external drive:
- Confirm the photos are visible as actual image files, not stuck inside a ZIP archive.
- Open a few scanned documents to make sure they're legible and not corrupted.
- Write your parents a short note — five sentences or less — telling them exactly where to find the frame or how to talk to the assistant.
You've saved 20 years of history. The last step is making sure it's actually visible, not just backed up somewhere your parents will never open.
If all this feels like more technical work than you want to take on, Heirloom Home will handle the messy cleanup, and delivery for you — start with a 30-day free trial, no credit card required, and see how it works before you commit to anything.
Their whole digital life, one conversation away
Heirloom Home turns your parents' photos, files, and stories into an assistant they just talk to — no passwords, nothing to learn.
See how it works